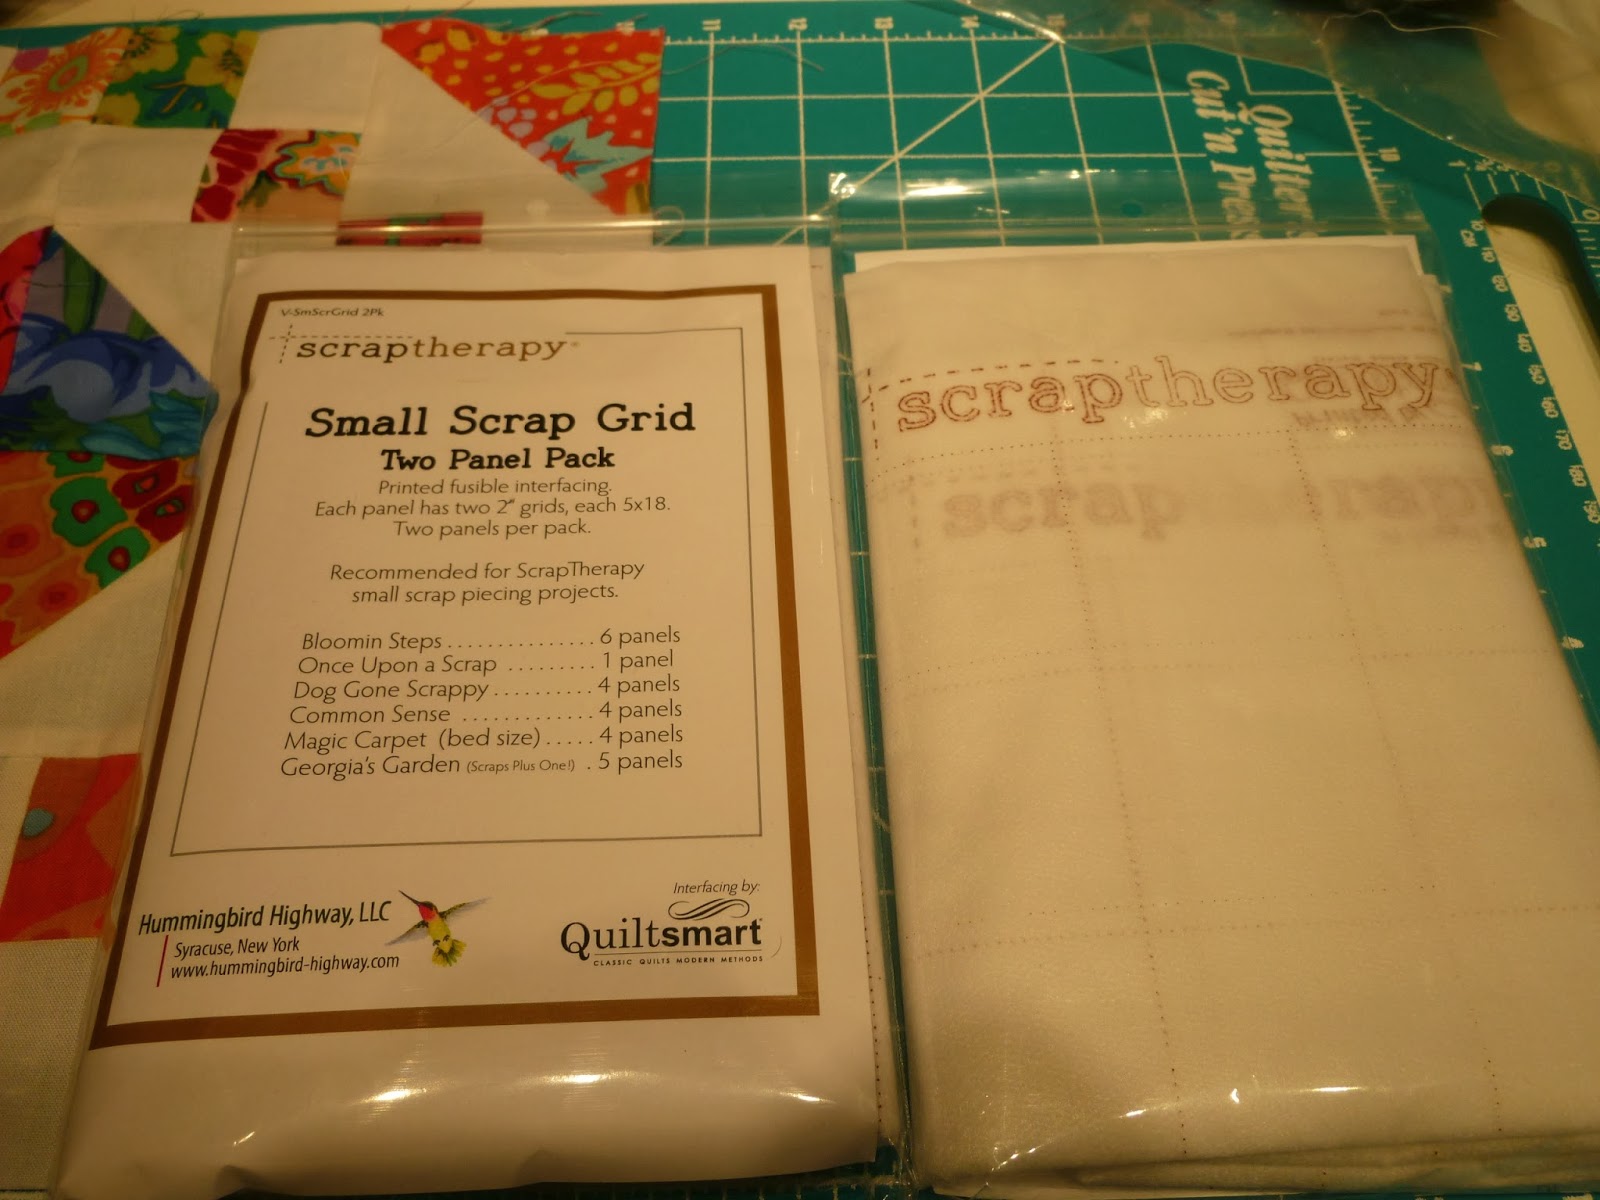
I mentioned in my last post that I picked up some nifty gadgets at the last workshop I attended. I'd like to share them with you because these aren't all things I've seen at my local quilt shop, or that I've seen other quilters I hang out with use. I'm not being compensated (this basically amounts to free advertising for these three companies) but I love these products now that I've discovered them, so maybe they're something that can make your quilting life a little easier as well.
First up is this wild and crazy Bloc Loc ruler for trimming up HSTs and QSTs. See that shaded diagonal line in the middle? It's actually a carved out groove that butts up against your seam and is held in place by the seam allowance. No worries about your ruler slipping when you're trimming your block, or trying to align a single printed line on your ruler with a possibly crooked seam.
My seam on this block is pressed to the black, so this ruler has just locked itself onto that seam and will not slip while I trim that block to whatever size I need. Love, love this item...a little spendy though. This 6" HST Bloc Loc retails for $26.00. There are many other sizes available, so check their website www.blocloc.com to see if there isn't something there to make your cutting a little easier.

I don't know about you, but I love 'gadgets', and these neat little On The Dot reusable plastic position markers are really useful. You know how they say 'measure twice, cut once'? So every time you position your ruler on a piece of fabric you've got to make sure you've got the right measurement before you whip out that rotary cutter. I find myself not exactly trusting the line on the ruler, I've got to actually count off each inch (especially if I'm not starting from zero). Well, count no more...position this diamond on the line you want to align the edge of your fabric with and cut away.
Strip after strip, and no chance that one of those strips will be a half inch or inch larger than the rest.
But wait, there's more.....if you like to cut multiple layers of fabric at a time and you're never sure you're lining up the line on your ruler, or the pressure on the stack may fan the edges out slightly, try using Cutting Edge. These 4" repositionable vinyl strips adhere to the bottom of your ruler and create an edge to butt your fabric up against.
Just stick it along the line you are using for your measure, slide the ruler up against the edge of your fabric, and cut. Nothing slips, plus, you don't have to visually find your measuring line each time you cut..foolproof accuracy.
These products are made by the same company that brought you Sewing Edge, which is the repositionable vinyl you stick to your machine bed to mark your seam allowance. All part of the 'Qtools' line, you can find them, as well as videos on how to use them at www.QuiltwithMarciBaker.com. They retail for $7.95 a package. Buy them once, and that's it. If the vinyl seems to not 'stick', just wet it and you're back in business.
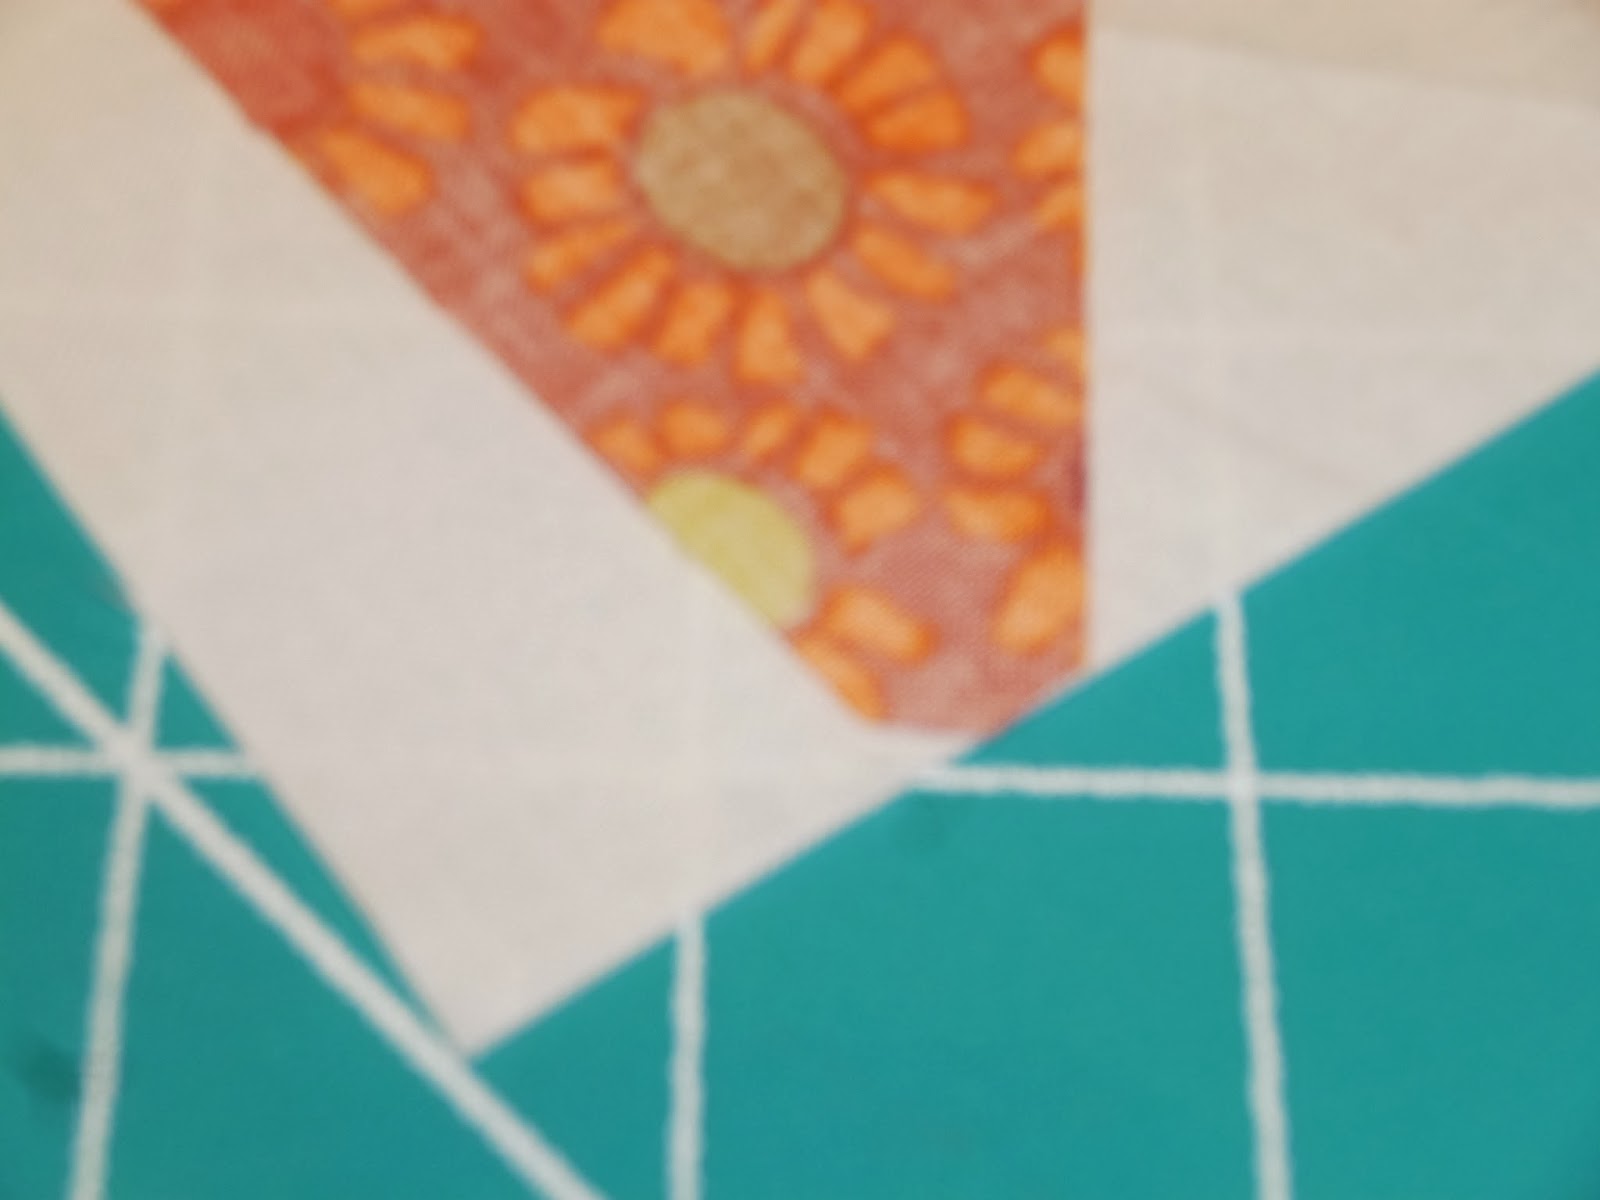
And finally....the scrap quilt I'm working on requires 40 4-patch diamond blocks to make the inner border of the quilt. Each unit is made with the leftover scrap that came into being when I cut the HST pieces from random Kaffe Fassett print squares for the quilt center (yesterday's post). These triangles are laid on top of squares and stitched, resulting in a kind of wonky (though not technically) 3-1/2" HST.
You fold your white square in half diagonally, you fold your triangle in half and pinch the edge, then line up the point of the triangle and the little 'pinch at the back' on the fold line and scoot the edge of the triangle in 1-3/4" from the edge of the white background fabric. (Did you get that?). Okay....Do this 160 times. And when you're done stitching these together, cut off 320 dog ears.
Enter the Marti Michell corner trimmer. Okay, so I looked at this and thought...what do I need this for, really, it's a tiny little thing, I'm going to lose it. Not to mention you've got to make 2 cuts on every corner...and for what purpose? I can whack off those dog ears when I trim up my blocks. But then I saw the teacher demonstrate.....
You don't actually have to measure...you just place the template on your fabric and slide it down until the bottom and the side align with the fabric edges.Then you make the two cuts (preferably with your smallest rotary cutter....the 60mm Olfa would be a bit overkill for this :) ). Trim the other point.
Now when I lay that triangle point on the fold line of my background square, I
simply slide my block over to where the two trimmed points of my
triangle meet the edge of my background. I'm not looking to align a fold
in the triangle, I don't have the ruler out to position my piece 1-3/4"
from the background point....the printed triangle is simply positioned
correctly because the points are cut to align with the edge of the square. Genius!
Let's check....yep, it's exactly where it's supposed to be. I'm guessing that this is going to cut in half the time it takes to make these 160 units.
But wait....that's not all. This nifty little item will not only trim corners, it will trim squares, allowing you to make perfect square in a square units. It will piece binding strips (forget buying the binding tool). You can even cut both triangles for flying geese units with it. The packaging says
"It will change your quilting life!". Probably not mine, I don't do a lot of geese, or square in a squares, but for me it was $5.00 well spent to knock out these diamond unit borders. To see demos on this and view the other tools from this line visit www.frommarti.com.
Hopefully you've enjoyed this commercial interruption, and maybe you've even found something you didn't know existed that will make your next project go just a tad smoother.
The weekend's almost gone, and tomorrow is our Harry Potter themed Octoberfest at work (mostly catered by The Cheesecake Factory....yum!). I'm bring phyllo-wrapped, parmesan-crusted asparagus spears for an appetizer...so much to do, so little time!


