Thursday, March 24, 2011

Lancaster Shopping Show and Tell

So here's what will be keeping me busy for a while :)


Let's start with one of the first things I picked up--I've never come across something like this before.  This is a 16-1/2" batik squre that has been preprinted with the design you see on the package. Sew Batik fabrics sells these. What you do is make yourself a quilt sandwich and then quilt on the lines.


Once you've done all the quilting you selectively paint the parts that aren't quilted with a metallic or high shimmer fabric paint. The result is an amazing artful quilt that you cannot believe is simply a wholecloth with lots of illusion.

 It's amazing, isn't it? Think mine will look anywhere near that good? One piece of cloth...that's it. Pretty cool. If you want to try this yourself, you can pick up the fabric at http://www.longarmconnection.com/. Pick the pattern and then pick the Sew Batik fabric color. The one above was done on Navy (which they were sold out of at the show)

I only bought 4 colors of paint to start with. This isn't the brand the vendor with the quilt recommended, but one of the other vendors said it would also work.  (Yep, I finally succumbed and bought a little sampler pack of Shiva paintsticks. Suz Zwizzle, Wannabee Art Quilter was along on this shopping trip and refused to stop whining and fussing until I bought some supplies for her. Anyone want to bet on how long it takes her to use them?)

Having done the one Baltimore block...well, okay, we can't technically say 'done', but we can expect that there will be more to follow, I decided that I needed some more traditional prints in my stash for Baltimore applique, and since a Dear Jane is also on my bucket list, a few Civil War prints would be perfect for both of these projects. I go more for the burnt orange/tan/forest/slate blue pallet rather than the traditional red/navy.

It was really hard to not buy twice as many as I did, but I think this little collection will go a long way for me, and it's not like you need to match anything between blocks in Baltimores or Dear Janes, so it's plenty to start with.

My winner for outstanding vendor/star of the show was one that I have never seen at any other show I've attended (the year I went to Houston was the year the date changed to October and this vendor had a conflict, but they do the Houston show every year). Let's say that last Friday I was definitely 'feeling Japanese...I really think so'.

First to grab my attention were the Sashiko patterns. Most interesting was that they were printed on indigo fabric as well as white and some other colors. I went with the traditional white as that's what I've been doing and I may want to display them all together. But I may be bold and use two colors of thread on this one. (though I'll have to have a couple of  sakis to pull off that major act of bucking tradition). They also sold t-shirt kits that had a pattern preprinted on the shirt and included the thread. If you're interested in these, or anything Japanese, they have a website: http://www.maedaimporting.com/.

This fabric is glorious (and expensive, but I couldn't resist). I love the Japanese fabrics that have a design woven into the cloth as well as the design that is screened on the fabric, and these three one yard cuts met my 'woven' requirement. The funky flowers on the left is the most popular kimono print (according to the seller).

Added bonus was the Japanese printing on the selvage of this one (you can see the woven pattern on this piece pretty well).


Now, this is another fun project, I'm looking forward to. The fabric above is a finished edge cloth called a 'furoshiki' or wrapping cloth. In Japan, these cloths are used like wrapping paper. They're practical, colorful, and reusable, and in the case of many....QUILTABLE! Add some batting, some backing, maybe a border, and quilt around the design and in the open spaces. They had quite a few on display and I fell in love with the finished product. Faux art quilts....how so right up my alley is that? I picked up this small one for practice, and I'm waiting for a larger, more abstract one to come in (yep, another item sold out by the time I got there.)


A day of quilt show shopping wouldn't be complete without a small assortment of the most recent offering of French prints fresh from Provcence.

And they fit in well with my growing collection of authentic French fabric. Eventually I'll have enough for a project, if I ever get over the horror of  taking a rotary cutter to it. Though I think I need some more greens before I commit this stack to a project.


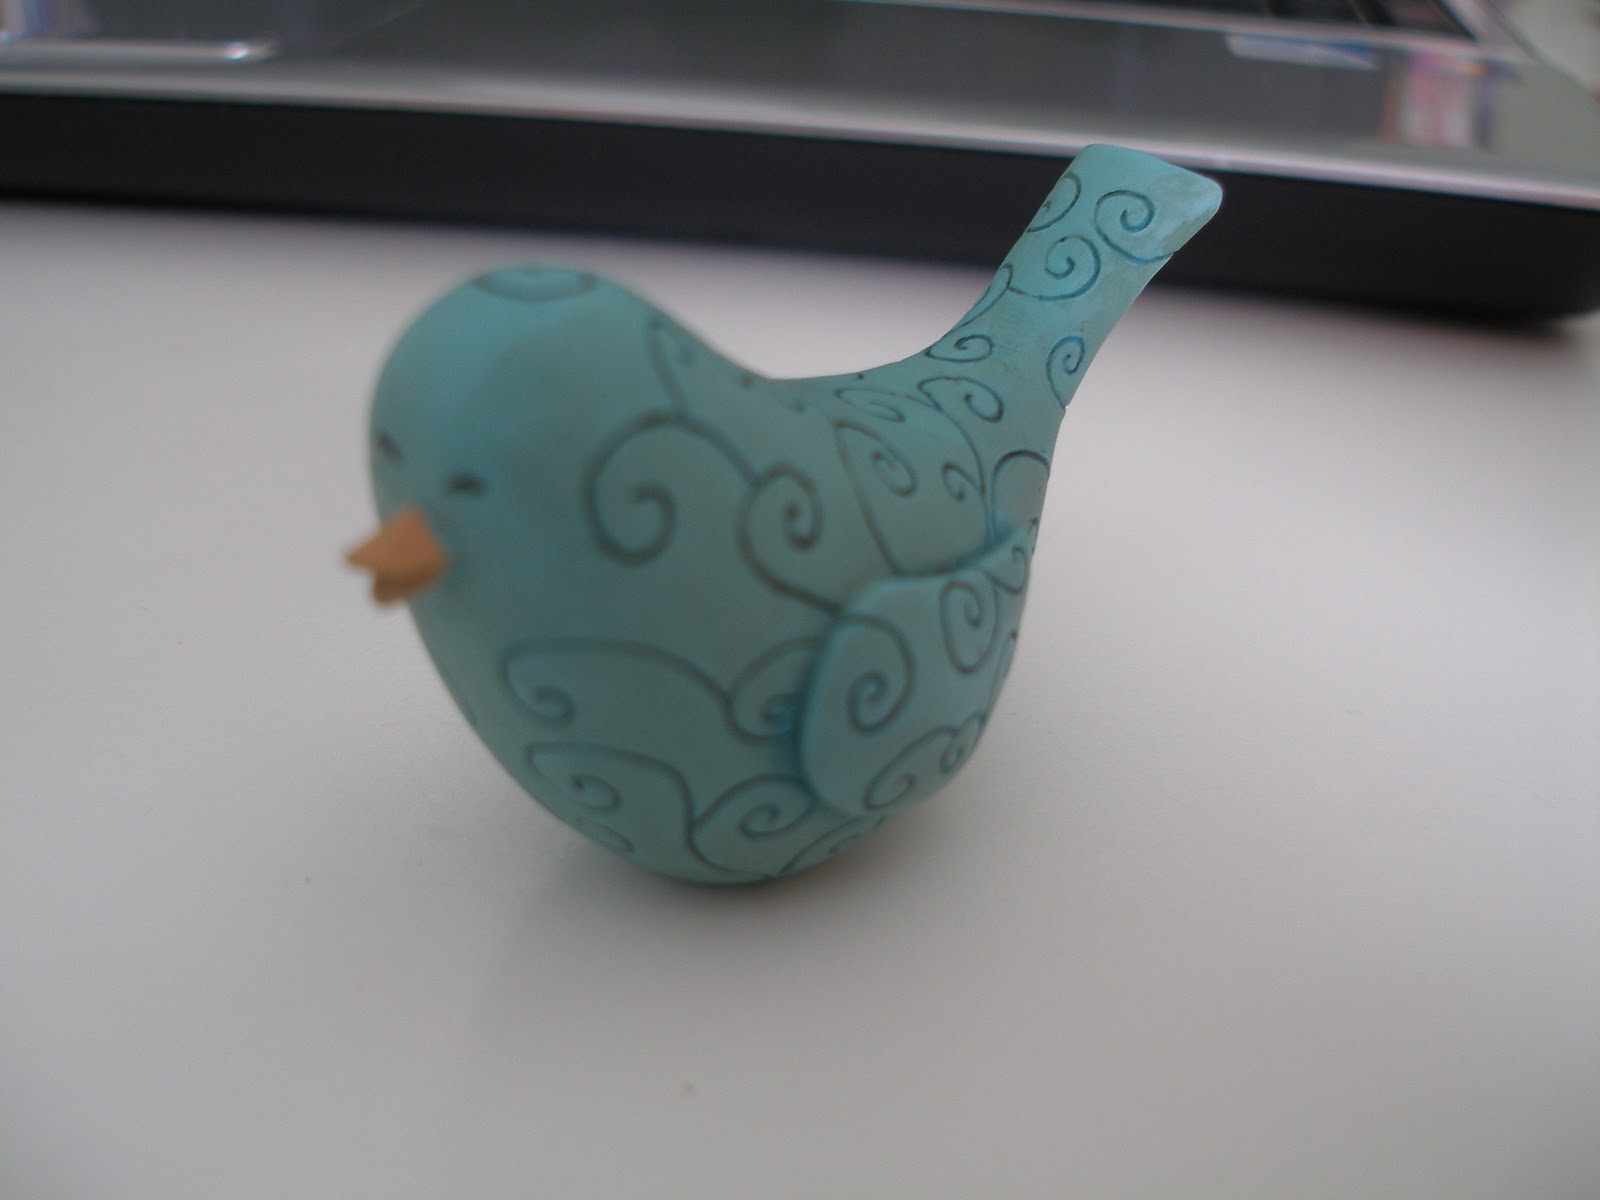
On our way home from Lancaster, we stopped at the Gettysburg outlets and went into 2 stores. One is a shop that rents out little booths and it's full of little tchotchkes. It's fun to walk through and sometimes you come out with a treasure. I thought the bluebird above would be a happy addition to a shelf in the studio. (It makes me smile every time I look at it). The other shop, Christmas Tree Hill, was practically giving away these miniature pottery birdbaths ($2.49). I snapped one up to use as a place to toss the safety pins I'm removing while quilting.


Of course I also bought silk thread from Superior. It's the best silk thread I've used ...I go back and forth between silk and cotton for hand applique. At the moment I'm using French Broder cotton for my Piece of Cake Aunt Millie's Garden, but silk for the Baltimore. I won some Superior Kimono Silk a few months back, and just used it on the Baltimore block...it disappeared into that fabric like buttah! If you're at a show and Superior's got a booth, most definitely pick up a spool and give it a try. And while you're at it, pick up the 2 color charts so you can order it on line. You're going to want more of it once you have a taste.

Wednesday, March 23, 2011

Hey Peeps!!!

This Peeps Bunting was the demo at Needles and Pins quilt shop this past Saturday. The pattern is from http://www.dana-made-it.com/. There's a tutorial on her site making it as they taught at the demo.....the old fashioned way....the use your sewing machine to sew around each and every bunny way. As a serious proponent of instant gratification, I took matters into my own hand and made a few adjustments.

First, everyone was making their buntings in one solid color of Peep bunnies. My sister and I decided that we'd buy quarter yards of 4 different colors. I whipped out my trusty retractable tape measure and we calculated that we could lay 5 bunnies across each quarter yard strip, so we could make really long 20-bunny buntings, or 2 10-bunny buntings...one for us and one for our daughters. (Yes, Jen, if you're reading this, yours is on the table in the foyer if you stop by).

The original instructions want you to cut out your bunny tempate, lay it on the felt and use a Sharpie to draw around it for cutting, then you can turn your bunny over to hide the ink lines. This will not do for those of us who are obsessive/compulsive. We do not want ink on our fabric. So what I did was to tear sheets of freezer paper to fit my folded length of felt and draw my bunnies on the freezer paper, which I then ironed to one side of the felt.

The more I looked at these bunnies and all their curviness, and the later in the evening it became, the more I knew that I did not want to be up all night sewing together bunnies, so I next decided to cut sheets of Heat n Bond to sandwich between my folded felt and I fused it down at the same time I was ironing the freezer paper to the top layer.


A couple of pins in each one to keep the two pieces together while I cut them out with fabric scissors. The cutting of 20 bunny shapes went rather quickly. I finished cutting out 20 bunnies in well under 30 minutes. (Hey Accuquilt!!!! You should think about a Peeps bunny shape die.)

Peel off the freezer paper, but do not peel off the fusible web paper yet. As you'll see on the original site, you then dip a pencil eraser into some brown paint and dab on the face. Leaving the waxy Heat n Bond paper intact prevents the paint from bleeding through to the bunny back, which allows you to keep the backs and fronts together. If you don't slop the paint on, they dry pretty quick (another 30 minutes or less).

Once they're dry you can tear off the fusible paper and grab a ribbon or some twine, or whatever your preference to hang them on. I've got a boatload of ribbon, so I just found a satin I liked (though I'd have preferred a grosgrain).
Lay your bunnies face down on your ironing board (yep, that's face down, it's the paint that bled through the felt that you're looking at). Put them pretty close to one another (less than an inch apart at the ears). Remember, they're going to bow out once you hang them and the ribbon arcs.  Be sure you lay your ribbon face down, and leave some room for fusing above it. Slap on the bunny backing (because you kept them together when you painted, they'll line up perfectly because they were cut at the same time).  And then fuse the back and front together with the ribbon sandwiched inbetween. Sometimes you have to go back and hit the ears with the iron again, but they'll stick, trust me. Oh, and if you have an applique pressing cloth (no stick), you might want to go ahead and use that.


That's all there is. If you've got all the time in the world, you can stitch all of your bunny backs to the ribbon and then outline stitch the bunnie back and front together (this is how it's done on the dana-made-it site). My attention span for a project like this is just a little over an hour...no more than two, so I just told myself that you don't see any stitching lines in a marshmallow peep, so this way was a good way. :) (We can convince ourselves of anything, can't we).

We were at the quilt shop, so of course, we bought 'real' wool felt that cost $9.25 a yard rather than swinging over to JoAnn for their felt at half the price, but I think we had a better color selection that more matched the actual peeps. In fact, the shop owner had gone out and bought peeps of every color and had them laying out on the colors that most closely matched, which was great. The ribbon and fusible I had on hand, so the project cost me just over $4.50 per bunting. Not bad, and an evening's entertainment while I watched PeeWee Herman on Broadway on HBO.

Have fun if you make these, feel free to use my quick and easy fusible method or go for the original dana-made-it.com sewn method. Whichever way suits you, I'm sure you'll wind up with an adorable Peeps bunting.

Check back tomorrow for my shopping show and tell from the Lancaster show. I've got the photos ready, but I've had some comments on Facebook asking after this project, so thought I'd slip this one in.

Happy Wednesday! Only 3 days to plod through before the weekend.


Sunday, March 20, 2011

We Have Winners!

Random number generator wasn't going to work on this one since we didn't have a single comment for each entry, so I tallied all your entried on little slips of paper. I want to thank Barb, Joanne, Cassie, Lis and Sarcastic Quilter for posting about my giveaway on their blogs. Sarcastic and Barb got credit for a total of 3 posters that referenced them, and I gave those posters an extra entry in the drawing for giving credit.

Didn't have a hat handy, so I snagged the paper mache bowl I made out of the guestroom.

 Tossed your entries inside and shook it all up.

After drawing the winner, I also pulled a couple of consolation prize winners. Michell won for being a  follower, and she's won a sample pack of various size Jeana Kimball Embroidery/Redwork needles I picked up at the show in Lancaster. (Edited to add....Talk about coincidences...I just checked  Michell's profile, and she's in New Zealand and she's a cross-stitcher!)

This little strawberry pincushion was won by Barb (I put applique pins in it, so how cool that her name was the one drawn).


And the charm squares go to Lis. Congratuions, Lis! I think you're in the UK? If so, I'm going to unbundle them so I can ship them as an envelope rather than a package.

I'll send you all individual emails to get your mailing info.

Congratulations to all of you.

And remember...anyone who is a follower who comments in March is eligible for my monthly Follower Appreciation Giveaway that happens at the end of each month. Each comment made is an entryin the drawing. This months' prize was also picked up at the Lancaster show. We'll unveil that in a later post.

Since I spent yesterday at the local quilt shops and had entertaining in the evening, I'm a bit behind on my own celebration of National Quilting Day, so I've extended it to today. I picked up another project yesterday that may trump my original plan.

I'll be back later for show and tell. Enjoy your day!

Saturday, March 19, 2011

Happy National Quilting Day Giveaway!

It's almost lunchtime, so I hope your sewing machines, irons, GO!s, rotary cutters, are seeing some action today and you're enjoying an uninhibited day of fabric play.

I'm on my way to a demo at Needles and Pins, lunch in Shab Row and then I'll be back to begin work on a super fun project I picked up at the show yesterday. I'll tell you all about it later, and show you the yummy fabrics I picked up (including French and Japenese fabs). And we'll work together on my new project over the next couple of days....it includes paint, which is something totally new for me.

I wanted to fire off another post to give you an extra chance to comment and enter my National Quilting Day Giveaway.


Charm square goodness awaits you. The entry instructions are in the previous blog entry if you need refreshing. You've got until midnight tonight to enter to win.

Enjoy your day!

Friday, March 18, 2011

National Quilting Day Giveaway!

If you're a quilter, you've undoubtedly heard that Saturday is National Quilting Day. Woo hoo!

 
There are many ways to celebrate...
  • You can spend the day communing with your stash in your studio
  • You can spend the day, and the contents of your wallet at your local quilt shop
  • You can spend the day in front of your machine and sew all day and all night....guilt free
  • You can spend hours in front of the computer watching QNN, The Quilt Show, Quilters TV, catching up on Alex and Ricky and Eleanor
  • You can spend the day on the couch, with your feet on the coffee table, box of bon bons at your side, leafing through the last years' worth of quilting magazines that always came at a time you were too busy to give them more than a quick glance
  • You can spend the afternoon in a lounge chair, out in the yard, soaking up the sun while you hand sew binding and labels on the last few unfinished projects that have been piling up on your cutting table
However (and how much) you choose to spend this Saturday, it's bound to be a good day spent doing something that brings you joy. And to make it even better, I'm going to host a National Quilting Day Giveaway.

Here's what you're playing for...

FABRIC!!!!!!

109 (give or take 1 or 2) 6" charm squares. There are at least 80 or more unique floral prints in this pack. More than enough to combine with some sashing to make a scrappy Spring throw, or a couple of tote bags.

One winner will take this lovely fabric home. And we'll also have a couple of trinkets from the AQS Lancaster Show to raffle off as consolation prizes.

I'm going to give you multiple chances to win this one:

  • Post a comment telling me what you'll be doing on National Quilting Day on this post for one chance.
  • Post a comment on Saturday's post telling me about your progress for another chance. 
  • Become a follower (or if you are a follower already, let me know) for 1 more chance.
  • Post about my giveaway (link to my blog) on your blog, or Facebook wall for 1 more chance (1 chance for each place you post) 
  • Every person that you direct to the giveaway that says that you sent them gets you an extra chance. (Please ask them to use the name that you comment with, so there's no confusion when I'm doling out chances)
Have a wonderful day....remember to check your supplies to be sure you have everything you need for nonstop quilty fun on Saturday, (or stop at the ATM on your way home from work so nothing will stand between you and the fabric stores come Saturday) and if you see me in Lancaster tomorrow at the AQS show, say 'hey'.

Wednesday, March 16, 2011

Back to Fabric Land - A Bit of Catching Up

Only one more day until I head off to the AQS show at Lancaster. I am really looking forward to the show this year, as it's their second year in this venue and I'm sure things will be well organized now that they've got the lay of the land nailed down.

If you remember, one of my favorite exhibits in this show last year was the display of domestic machine quilting by some of the well-known quilt celebs. I was both awed and inspired by what you could accomplish on your home sewing machine, and now, here I am, going through those very same motions on my own machine a year later. Had I not been on a mission to scrutinize the stitching on every quilt in that show, I might still be doing giant meandering with my BSR attached.

Attending the large national/international shows is something that I hope everyone  gets a chance to do, at least once. Not just for the beauty and the inspiration, but the vendors are something to behold as well. (And Lancaster has about 135 on site....not Houston mind you, but certainly not too shabby).

I know what you're thinking....shopping show and tell on Saturday's post!!!..you all know me far too well. I'll also be picking up a little somethin' somethin' for this month's Follower Appreciation Giveaway, and in honor of National Quilting  Day on Saturday, we're going to have an extra giveaway....details on this tomorrow.

In the meantime, I'm off to start a new project. Actually, two new projects. Here's the direction I'm headed in:


I've been trying to make some time to work on a GO! project with a couple of my Christmas gift dies, so I'm going to throw caution to the wind and just run with it.

Let's see what we can come up with using the Dresden Plate die. And my new smaller (thank you Accuquilt for listening to our suggestions!!!) Drunkard's Path die.

 We'll use the In The Beginning Adelaide fabric with the Drunkard's Path. This could be interesting.
And we'll pull some mirror image black/white white/black prints from the FQ cubby. Though I have a feeling I'll be suggesting Accuquilt make a smaller one of these dies as well. We shall see. In fact, I can't wait, let's dive right into this one.


First and foremost.....IRON YOUR FABRIC. Otherwise you'll be cutting shapes with creases in them that will become new shapes when you do iron them  :)

I've layered 4 layers of fabric over the cuts on the die that I want to use. They've all been cut and placed on the lengthwise grain so there is no stretch across the width of my wedges.

 Feeding the die through the GO! is super easy. I'm turning the crank with my left hand for the picture.
And this is what you wind up with. I've got 16 perfectly cut slices of a plate in minutes.

And they were cut with tiny little guide notches to help me align them when I stitch them together. Seriously, how great that we can take that from garment piecing and apply it to quilting.


Unfortunately, this plate is quite a bit larger (brand new pencil added for scale)  than what I planned to use it for  (the Quilt in a Mousepad kit), so we'll have to find another decorative use for it after it's stitched. And we do need to stitch it because I purchased this die for my 1930s repro fabrics, and I need to be very sure I want plates this large on this quilt....if not, I'll be waiting to see if Accuquilt scales down this die (as they did the Drunkard's Path). While I did buy two other Dresden rulers/templates, having just cut this one on the GO! I have no intention of manually cutting a quilts' worth of these pieces, with, no less, no notches. Sheesh!


In the meantime, the die also included the wedges for pointed petals, and you can lay these out in a winding path kind of pattern.......I think I may have found a project for Suz Zwizzle, Fledgling Art Quilter. Looks like we might have a mission for Friday's show viewing.

More on these projects tomorrow.

Friday, March 11, 2011

The 'exciting' post I promised


Something (more on this later) compelled me to dig through the basement last night for this lame little photo album I've had since the early 70s. There's only about a dozen photos in it, and this is one of them. That's me, 3rd ffrom left, in my 'Harvard' class photo. This would be the 6th grade, back when 6th grade was the ruling class of elementary school. Yes I'm wearing hose, and yes, they are held up by a garter belt (this is June 1966...piror to the invention of pantyhose). Don't you love the button placement on the bodice of my jumper? (Oh, for a mother who would have scrutinized my 'look' on school picture day...but sadly, Mom was pretty far into early onset Alzheimers by that time, so it was all on me).

Truly amazing is that I can look at this photo and recognize Sandy 'Egghead' Salo on the far left, and Carol Maynard (the only one in knee socks) to my right--it was fun hanging out with Carol, she had 5 or 6 brothers (I had none), and an attic full of power tools...table saws, lathes...and an unrelenting collection of Jan and Dean and Beach Boys that seemed to play 24/7.

I can probably name another handful of girls in that photo...seriously....this is 45 years ago...I can't remember what I wore to work yesterday, but I can remember who these kids are that I spent a single year in class with....I guess it's all about what really 'matters' to you, and sometimes, it's surprising to find out what that was.

Did you notice the obvious shortage of boys in this 6th grade class? Well, half of those missing were way too cool for class photos (they were hanging out at the corner store in their leather jackets, opening Coke bottles with their teeth), and the other half were likely locked up in juvie for some sort of petty theft (or stealing cars). If you look at those girls and some of those boys very closely, it's not hard to believe that the police came to class at least once a week throughout the school year to tag someone out.

The teacher on the left? Well, that's Miss Boris. It was her first year as a teacher, and from what I'd heard, her last.

Fast forward to 7th grade....Junior High...1968. After a year of  'Greaser Wannabee', I settled on 'Hippie Without a Doubt' (2nd cousin to 'Rebel Without a Cause'). There were 4 of us, and I swear, in an entire Junior High School, ONLY 4 of us, who thought The Doors were far more satisfying than The Temptations.

Aren't we cute....Debbie on the left, Rae, Me (channeling Morrison), and Nada.

I'm not going to bore you with the details, but at least two of us (Debbie and Guess Who Else) were the poster children for the original Wild Child. My own daughter's college years would not compare to my pre-teen years. Needless to say, in raising a daughter, NOTHING slipped by me, much to Miss Jenifer's dismay. (Been there, done that!

Our common bond was the music of the era. We followed the bands. Not quite groupies, in the literal sense, we spent our free time hanging out in the coffee shops of the hotels the bands in town were staying. (Imagine, if you will, a couple of 7th graders in a booth at the Versaille Hotel drinking coffee and discussing Dylan's influence on the Dave Clark Five). Above is a photo of my very bestest friend Debbie, with Dave Palmer of the Amboy Dukes (Journey to the Center of the Mind.....if only then we knew then what Ted Nugent would grow up to become!)

By 1968 (we were 14), we had seen the Doors (that's a majorly drunken Jim in a sound check at a concert in Cleveland above), Hendrix, Joplin. As teen girls are wont to do, we had a pact. No matter what, when we turned 18, we were moving to 'the Coast'...SF, LA....because Cleveland (where we lived) was just not happenin'.

As we've all experienced, we grow up, and we grow apart. In our case, I was being sent to live with a sister, due to an obvious lack of parental control. And the moves became farther....first Virginia, then Maryland...away from the best friend I ever had. Shortly after my 18th birthday I was happily married to the hubs, and not panhandling on the corner of Haight and Ashbury.

That period of my life had a lot to do with who I am today. I have often thought of Debbie Mitchell, and Google was no help in my meek attempts to find her. I had resigned myself to fond memories and nothing more....until Wednesday night.

I rarely look at anything but a Timeline in Facebook, but my new iPhone flags messages. So when I had a message notification pop up, imagine my total surprise to find that Debbie Mitchell had sent me a message....40 years (okay, so now we all know how old I really am) after our last contact with each other. Do you love the internet????? Can I get a Hallelulajah?!!!

We've confirmed that we are who we are, and the couple messages we've Facebooked each other with have triggered quite a few long-forgotten memories of good times. I forsee that we're going to have a lot of fun rehashing the past, and I'm really appreciative that I've been given an  opportunity that few people will have---reconnecting with my past.

Divine Providence, Angelic Intervention, Karma....whatever. I feel very fortunate that it's crossed my path, and I look forward to getting to know someone who was once my best friend, once again. (It's looking like that angel I had tattooed on my shoulder is working overtime.).

Boring Progress Post....Saving the Exciting News for Tomorrow

On Monday evening I was fortunate enough to have dinner with Elly Sienkiewicz. I worked really hard at getting almost all of my block from her workshop assembled to show her, and was pleased to hear that she thought I did a good job. She liked my fabric and color selections, which was high praise for someone as color-challenged as myself.

 
Now, before you start marveling at my magical powers that allowed me to get those 48 tiny little half inch leaves sewn on, save it. They are glued over freezer paper templates, seriously glued over freezer paper. Elly wanted to know if I was going to slit them and pull the freezer paper out when I was done. (Negatory there, good buddy). I did use a washable glue stick to glue them, but I also used a dab of Roxanne's to stick them to the backing to be held in place while I stitched, and that, dear friend (as Elly would call you), is permanent glue, so those leaves aren't coming loose.

I'm still playing with the two buds. Elly liked that I was doing something dimensional (the ochre one on the right). The pattern more or less calls for flat that looks like the two-tone on the left. I'm leaning more toward refining the ochre colored fabric to be a finished rosebud. A much older and wiser workshop participant said to me, more than once, 'make it your own and have fun with it', so I'm going to follow her advice.

Now, energized by how far I got on the workshop block, I put the old nose to the grindstone and finished both heirloom machine quilting blocks. I'm hoping the third class in a couple of weeks has enough participants and happens, so I thought it would be nice if I finished the blocks from the first two classes and took them in to show the teacher (another shameless attempt to pursue some artistic validation from an instructor....come to think of that, I've been sucking up to my teachers since kindergarten, rather successfully....except for that witch in the 2nd grade who took away the wax easter-themed cottage cheese containers I brought in for show and tell because I was scraping the wax off them onto the floor waiting my turn (she always picked me last....she was not fond of me or my suck-upedness).

So, here's the actual Sharon Schamber design. If you can zoom in on this by clicking it, you can see the tiny little  micro-stitching. I've got to say that this piece has given me a bit more confidence in my machine quilting abilities. I'm starting to use my imagination now.


I've cut off a bit of this next one in the photo. It's another 15" square, off white thread on off white fabric with off white binding.


All that's left is to hand sew the binding down on the back and toss them both in the wash to rid them of the wash away marker I used to draw some guide lines. I think I've got that covered in the next 2 weeks. Most likely I'll stich the binding on the way to the AQS show in Lancaster (that is, if I'm the passenger and not the driver).

Okay, I've fulfilled my creative posting quota for the week and hope you've been inspired to try your hand at a little needle-turn applique or some heirloom quilting on your domestic machine.


The last couple days at work, and tomorrow, spent validating a data conversion with a shipload of code problems,  have driven me to drink (oh like that's such a stretch). Tonight's poison was a lovely little Australian Shiraz/Grenache that I'm feeling a need to start hoarding for future solace (as if an unopened bottle of wine would survive longer than a week in this house). If you like reds, look for this one, you'll not be disappointed.

I'm pretty excited about tomorrow's post (which will have nothing to do with sewing). I think you'll enjoy the ride. See you then!